
Understanding The Mastering Process
When people think about mastering a song, they often oversimplify it as making music louder. In reality, mastering is the final, vital step in music production that requires precision and expertise. Think of mastering engineers as quality control specialists who ensure your music sounds amazing everywhere – from professional studio monitors to basic earbuds.
The Art of Enhancement: More Than Just Loudness
Great mastering goes far beyond volume adjustments. Engineers carefully enhance a track's sonic qualities while staying true to the artist's vision. They might gently adjust EQ frequencies to add clarity, apply compression to create a more unified sound, or make other subtle tweaks that help the song compete with other professional releases. The goal is to bring out the music's emotional power while maintaining crystal-clear sound quality.
Developing Critical Listening Skills
Critical listening forms the foundation of great mastering. Unlike casual music enjoyment, this skill involves deep analysis of every sonic detail. Mastering engineers spend years training their ears to catch tiny imperfections and understand complex frequency interactions. They learn to evaluate how dynamic range shapes the listening experience and how to achieve perfect sonic balance. This refined hearing ability lets them make precise adjustments that transform good mixes into exceptional masters.
Maintaining Objectivity: A Fresh Perspective
Fresh ears are essential in mastering. Mixing engineers often spend countless hours with a track, which can lead to listening fatigue and lost perspective. The mastering engineer provides new, unbiased insights to ensure the song connects with first-time listeners. They spot potential issues that others might miss while offering constructive feedback. This objective viewpoint helps preserve the mix's core qualities while preparing it for release.
Delivering Consistent Results
The end goal of mastering is reliability across all playback systems. Professional engineers focus on creating masters that sound excellent everywhere. They carefully consider factors like loudness standards, stereo image width, and overall tonal balance. By understanding how people listen to music on different devices, they ensure the final product meets industry standards and resonates with audiences, regardless of how they choose to listen.
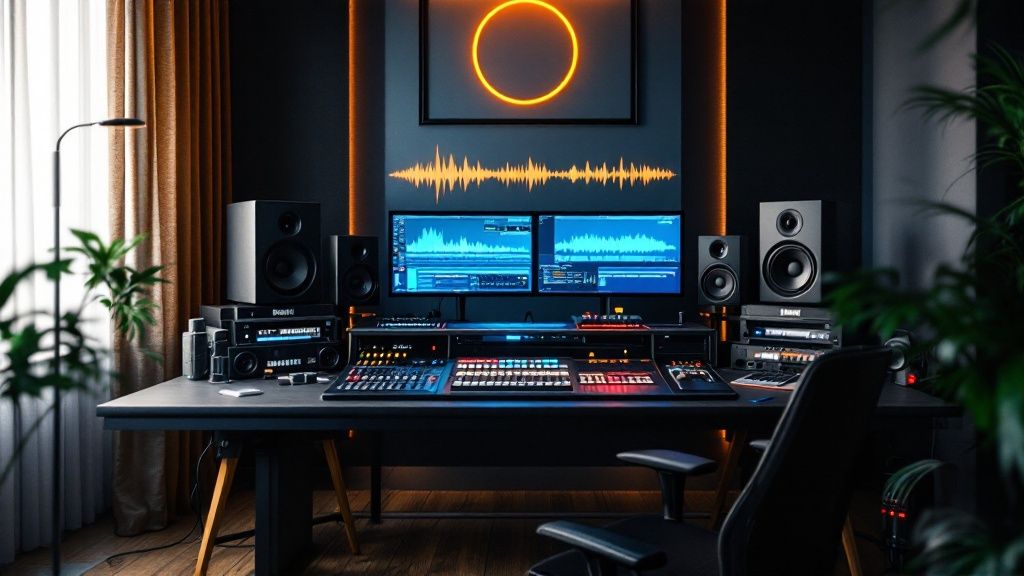
Creating Your Ideal Mastering Environment
Quality audio mastering requires having the right physical space to work in. Just as artists need proper lighting, mastering engineers need a controlled environment to accurately hear and assess their work. The key elements are room acoustics, monitor setup, and a reliable reference system.
Optimizing Your Room Acoustics
The way sound behaves in a room dramatically affects what you hear. Untreated spaces create unwanted echoes and resonance that color the sound and make accurate monitoring impossible. The solution is acoustic treatment – strategically placing bass traps in corners to control low frequencies, absorbers on walls to reduce reflections, and diffusers to scatter sound waves naturally.
Monitor Placement for Accurate Sound
Even with great acoustics, poor speaker placement can ruin your mastering decisions. Set up your monitors in an equilateral triangle with your listening position, so sound reaches both ears simultaneously. Position speakers at ear level and angle them slightly inward toward your head. This creates an optimal "sweet spot" with accurate stereo imaging.
Developing Your Reference System
Clear monitoring and reference tracks are just as important as good speakers and room treatment. Research shows that 85dB SPL is the ideal monitoring level for human hearing perception. Learn more about monitoring levels in this audio mastering thesis. Calibrate your system to this level and use familiar commercial tracks to compare your masters against professional releases.
Overcoming Common Room Challenges
Home studio mastering engineers often deal with small or oddly-shaped rooms. Small spaces tend to build up bass frequencies, while irregular rooms create uneven reflections. Solutions include using multiple small bass traps instead of few large ones, and carefully positioning absorbers and diffusers. Even with budget limits, you can build an effective mastering space through smart planning. Focus on these core elements to create a monitoring environment you can trust for consistent, quality results.
Mastering For Modern Streaming Success

Getting your music to sound great on streaming platforms requires understanding how people listen to music today. This means knowing how platforms like Spotify, Apple Music, and others handle audio, and finding the sweet spot between artistic vision and technical requirements.
Understanding Loudness Normalization
Major streaming services have changed the game with loudness normalization. Instead of letting songs play at whatever volume they were mastered at, these platforms automatically adjust everything to consistent levels. This has effectively ended the old practice of making songs as loud as possible. The impact? If you master a track too loud, the platform will turn it down – potentially making it sound worse than if you'd mastered it more moderately. Learn more about these changes in music production here.
Adapting Your Mastering Approach for Streaming
While overall loudness still matters, the focus has shifted. Rather than pushing volume to the maximum, engineers now work to optimize the dynamic range – the difference between quiet and loud parts. This helps preserve a song's emotional impact when streaming platforms adjust its volume.
Platform-Specific Considerations
Each streaming service handles audio slightly differently. Some use different target volumes, while others process audio in unique ways. Because of this, many engineers create separate masters optimized for major platforms.
Practical Strategies for Streaming Success
Here's what to focus on when mastering for streaming:
- Target Loudness: Know each platform's recommended volume levels. Staying close to these targets prevents unwanted compression during playback.
- Dynamic Range: Keep some natural variation between quiet and loud sections. This helps your music stay engaging even after normalization.
- Reference Tracks: Listen to professionally mastered songs in your genre on different services to understand how they sound.
- A/B Testing: Check your masters across platforms and devices to ensure consistent quality everywhere.
The key to successful streaming mastering isn't maximum volume – it's finding the right balance of loudness and dynamics while understanding how different platforms will handle your music. This approach helps ensure your songs sound their best everywhere they're played.
Mastering The Art Of Professional Loudness
Getting your masters to sound loud and clear is like walking a tightrope. The goal isn't just cranking up the volume – it's about creating an impactful sound that maintains its musicality. This requires understanding how we perceive loudness and applying smart techniques to boost impact while preserving sound quality.
Understanding Perceived Loudness
Our ears don't judge volume by peak levels alone. The frequency balance and dynamic movement shape how loud something feels to us. A track with strong mids often sounds louder than one with scooped mids, even at the same peak level. This happens because human hearing is most sensitive to mid-range frequencies.
Measuring and Analyzing Loudness
Professional mastering requires proper measurement tools. LUFS (Loudness Unit relative to Full Scale) has become the standard for measuring perceived loudness, offering better accuracy than peak meters. Recent analysis of the Billboard Global 200 top-10 shows an average integrated level of -8.3 LUFS with 1 LU variation. Check out more data at iZotope's Mastering Trends. Hitting similar LUFS helps your masters stand up against commercial releases.
Optimizing Loudness Levels
Getting optimal loudness involves several key techniques. Gain staging means setting proper levels at each processing step to avoid clipping and noise. Compression controls dynamics and boosts average levels, while limiting prevents peaks from distorting. But overdoing these tools can squeeze the life out of your music.
Maximizing Perceived Loudness Without Over-Compression
Use compression and limiting with purpose, not just to make things loud. Start with gentle mix-bus compression to bind elements together and lift the average level. Follow with a limiter to catch peaks and reach your target LUFS. Keep enough dynamics to let the music breathe and maintain its natural punch.
Advanced Techniques and Real-World Examples
More refined approaches include multiband compression and mid-side processing. Multiband compression lets you handle different frequency ranges independently for better tonal and loudness control. Mid-side processing works separately on center and side signals to enhance width and impact. Study professional masters like those from Tune Tailors to see these techniques in action. Learn from commercial tracks to master the balance between technical excellence and musical expression.
Essential Tools And Techniques For Professional Results

Getting great results when mastering a song comes down to knowing how to use the right tools effectively. Let's explore the key tools and techniques that professional mastering engineers rely on to create polished, release-ready tracks.
Core Mastering Tools: EQ, Compression, Stereo Enhancement, and Limiting
The main tools that shape a master's sound are equalization (EQ), compression, stereo enhancement, and limiting. Each serves a specific purpose in refining the final mix.
-
EQ: Think of EQ as fine-tuning the frequency balance. You might boost high frequencies to add sparkle or reduce muddy low-mids. Small, precise adjustments make a big difference in clarity and definition.
-
Compression: This tool evens out volume differences by making quiet parts louder and loud parts quieter. Be careful though – too much compression can make music sound flat and lifeless. The goal is finding the sweet spot between consistency and natural dynamics.
-
Stereo Enhancement: These tools adjust how wide or narrow the stereo image feels. They can make music feel more spacious and immersive, like expanding the sonic canvas. Key elements like vocals usually stay centered while other instruments get more width.
-
Limiting: As the final stage, limiting prevents the audio from getting too loud while maximizing overall volume. It's essential for getting competitive loudness without distortion on streaming platforms.
Developing Your Mastering Workflow
Having a clear workflow helps you work efficiently and get consistent results. Here's a typical approach:
-
Analyze the Mix: Start by listening carefully to identify what needs improvement. Like a musician finding the rhythm of a song, train your ears to spot areas that need attention.
-
Make EQ Adjustments: Apply gentle EQ moves to fix frequency imbalances. Think of it like adjusting instruments in an orchestra – each change affects the overall balance.
-
Add Compression: Use compression thoughtfully to control dynamics and make the mix more cohesive. The goal is subtle enhancement, not obvious processing.
-
Shape the Stereo Image: If needed, adjust stereo width to create the right sense of space. Like a conductor placing musicians on stage, position sounds across the stereo field.
-
Set Final Limiting: Apply limiting to hit target loudness levels for different platforms while avoiding distortion. This final quality check ensures the master translates well everywhere.
Troubleshooting Common Mastering Challenges
Here are solutions to typical mastering problems:
-
Muddiness: Cut problem frequencies in the low-mids rather than boosting highs. This creates clarity without making things harsh.
-
Harshness: Use a de-esser or dynamic EQ to tame specific harsh frequencies while keeping overall brightness.
-
Weak Impact: Light compression or parallel processing can add punch without squashing the life out of the music.
-
Narrow Stereo Image: Mid-side processing lets you widen certain elements while keeping important center content focused.
Like any craft, mastering takes practice to master. Focus on understanding these core tools and techniques. Think of it as bringing out music's natural qualities – enhancing what's already there rather than forcing dramatic changes. With dedication and experience, you'll develop the skills to create masters that sound professional on any system.
Delivering Masters That Meet Industry Standards
Creating a professional master involves much more than just making a song sound good. The final master needs to meet specific technical requirements and quality standards before it's ready for distribution. This attention to detail is what sets apart professional masters from amateur attempts.
Technical Measurements: Checking the Essentials
The first step after completing the sonic mastering is technical verification. This involves carefully analyzing the master for any technical issues that could affect playback or distribution. Key technical checks include measuring peak levels, verifying sample rates and bit depth, and examining the stereo image for phase problems. For example, keeping peak levels below 0dBFS prevents unwanted distortion in the final product.
Critical Listening on Different Systems
Beyond technical measurements, experienced mastering engineers test their work on many different playback systems. They listen carefully on professional studio monitors, consumer headphones, car stereos, and even basic laptop speakers. This thorough approach helps catch any sound imbalances that might only become apparent on certain systems.
Export Settings for Various Delivery Formats
Different distribution channels require specific audio formats. Understanding these formats and their settings is essential for maintaining sound quality:
- WAV (Waveform Audio File Format): The industry standard for CD production and high-quality digital distribution. WAV files preserve the complete audio quality of your master.
- MP3 (MPEG-1 Audio Layer 3): A compressed format used mainly for streaming and downloads. The bitrate settings need careful attention to balance file size with sound quality.
| Format | Sample Rate | Bit Depth |
|---|---|---|
| WAV (Master) | 44.1kHz / 48kHz | 16-bit / 24-bit |
| MP3 (High Quality) | 44.1kHz | 320kbps |
A well-encoded MP3 should sound very close to the original WAV master.
Implementing Metadata: The Information Highway
Proper metadata helps identify and track your music across different platforms. This includes the artist name, track title, album title, genre, and ISRC code. Think of metadata as your song's ID card – it helps streaming services, digital stores, and radio stations properly identify and categorize your music.
Final Verification: The Last Mile
The final step involves double-checking everything before release. This means listening to all exported files on different systems, confirming the metadata is correct, and making sure all technical requirements are met. This careful approach ensures your master meets professional standards and presents your music at its best. For guaranteed professional results that meet all industry specifications, check out Tune Tailors mastering services. They'll make sure your music is fully ready for release.