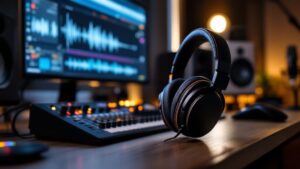
Understanding The Science of Great Sound
Good audio quality comes down to understanding a few key technical concepts. Getting familiar with these basics can help you make significant improvements to your recordings and overall listening experience. Let's explore the core elements that shape sound quality.
One of the most important factors is sample rate – how many times per second a sound wave gets measured and recorded. Higher sample rates capture more detail in the audio, which leads to better sound quality. For instance, CDs use a sample rate of 44.1 kHz, while Zoom video calls typically run at 32 kHz. Social audio platforms like Twitter Spaces often use 16 kHz to balance voice clarity with bandwidth constraints. Learn more about sample rates on Big Tent Media.
Common Sample Rates and Their Applications
Another key aspect is bit depth, which determines how much data represents each audio sample. Think of it like photo resolution – more bits mean better dynamic range and clearer sound. A 16-bit recording can capture many more volume levels than an 8-bit one, reducing distortion and preserving subtle details in both quiet and loud passages.
Your equipment's frequency response also plays a major role in sound quality. This refers to what range of high and low frequencies your gear can accurately reproduce. Professional studio microphones typically have wider frequency responses than basic computer mics, allowing them to pick up both deep bass notes and crisp high frequencies for more realistic sound.
Here's a helpful overview of common sample rates and their best uses:
| Platform/Format | Sample Rate | Best Use Case |
|---|---|---|
| CD | 44.1 kHz | Music listening, professional audio production |
| Zoom calls | 32 kHz | Online meetings, video conferencing |
| Twitter Spaces | 16 kHz | Live audio streaming, online conversations |
| High-Resolution Audio | 96 kHz or 192 kHz | Audiophile listening, mastering |
By understanding these basic audio concepts – sample rate, bit depth, and frequency response – you can make better choices about your audio equipment and settings. This foundational knowledge helps ensure you get the best possible sound quality for your specific needs.
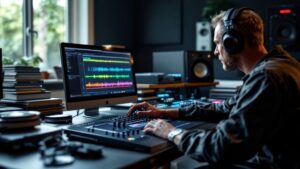
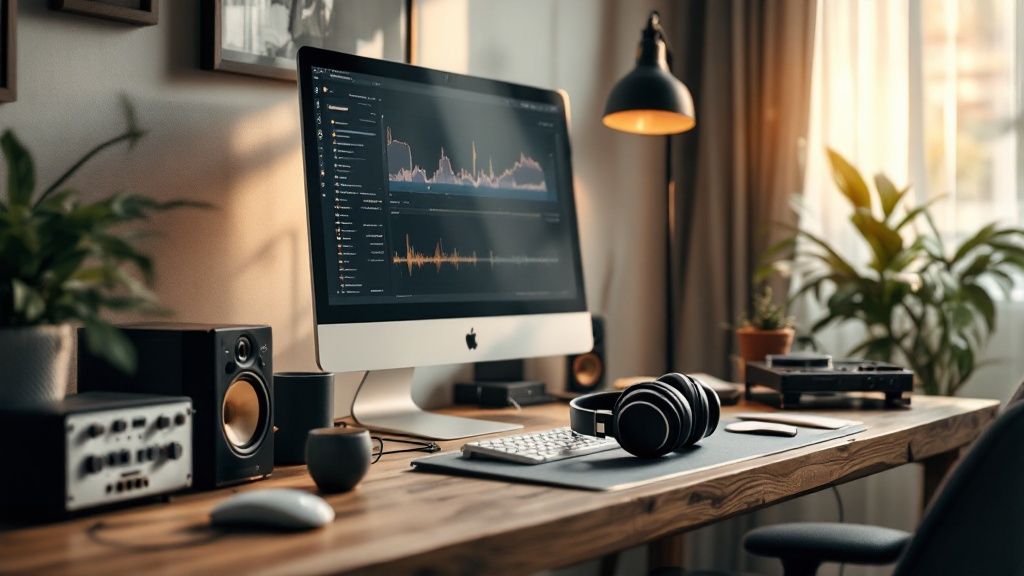
Choosing and Optimizing Your Audio Hardware
Good audio quality starts with selecting the right equipment and learning to use it effectively. Making smart choices about audio hardware is key to capturing professional-quality sound. Just like a house needs a solid foundation, quality audio gear provides the base for creating excellent recordings.
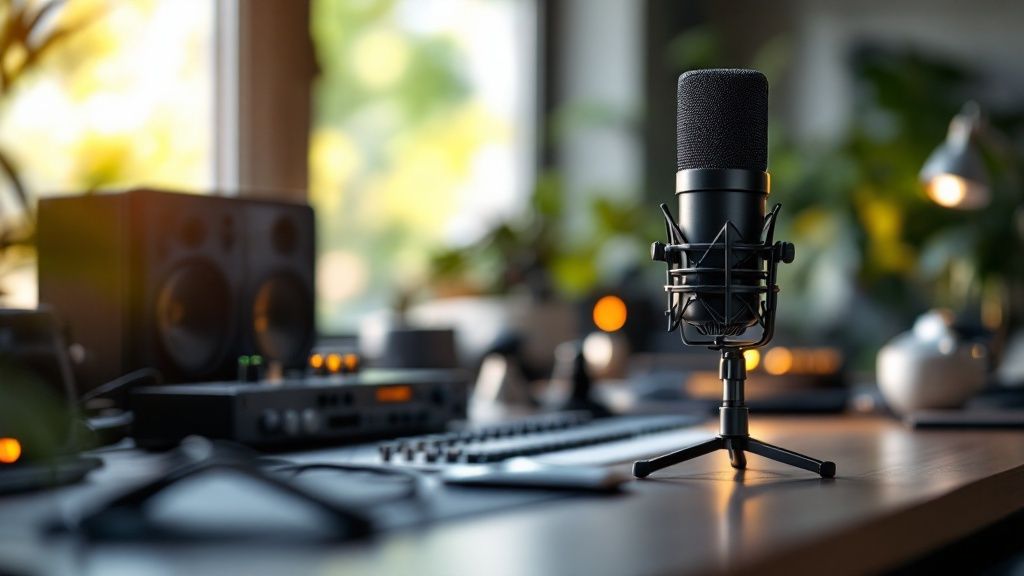
Microphones: Capturing the Source
Microphones are where sound first enters your recording chain, making them essential gear. Condenser microphones excel at capturing fine detail, perfect for vocals and acoustic instruments in studio settings. Dynamic microphones are built tougher and handle loud sounds well, making them great for live shows and drums. Think about what and where you'll be recording when picking a mic.
Audio Interfaces: The Bridge Between Analog and Digital
Your audio interface connects your mic to your computer by converting analog signals to digital. A quality interface improves recordings through clean preamps and precise analog-to-digital conversion. Look for models with high sample rates and bit depths to capture audio accurately.
Monitoring Systems: Hearing What You're Recording
Good monitoring helps you make smart recording and mixing choices. Studio headphones let you hear details while blocking outside noise. Studio monitors give you an accurate picture of your mix and help create polished, balanced recordings. Audio quality matters to listeners – a Qualcomm study found sound quality topped price as the main factor in buying audio gear. 24% of people valued high-res audio in 2021, up from 18% in 2020. Read the full report here.
Optimizing Your Existing Equipment
You can often improve sound without buying new gear by optimizing what you have. Mic placement makes a huge difference – try different positions to find what sounds best. Using a pop filter helps reduce harsh consonant sounds in vocals. Good quality cables minimize noise and interference. These small tweaks can noticeably boost your audio quality.
Identifying Upgrade Priorities
When deciding what gear to upgrade, focus on your weakest link. If you have a basic mic but good interface, a better microphone will likely help most. But with a great mic and basic interface, upgrading the interface makes more sense. This targeted approach helps you spend wisely. Each piece affects the final sound, so aim for balanced quality across your setup.
Mastering Digital Processing Techniques
Quality hardware is just the start – digital processing takes your audio to the next level. These tools help refine raw recordings into polished, professional sound. Let's look at key processing techniques that will improve your audio quality.
Noise Reduction: Eliminating Unwanted Sounds
Noise reduction is often the first step in cleaning up audio. It identifies and removes distracting background sounds like hums, hisses and fan noise. Good noise reduction makes recordings clearer without sounding artificial or processed. For example, removing air conditioner noise from a vocal track lets the voice come through naturally. This is especially helpful when recording in less-than-perfect environments.
Equalization (EQ): Shaping Your Sound
EQ adjusts the balance of frequencies in your audio, similar to bass and treble controls. With EQ, you can make vocals clearer, boost low frequencies, or smooth out harsh high frequencies. It helps create a consistent sound across different recordings. Careful EQ choices shape the overall character of your audio.
Compression: Controlling Dynamic Range
Dynamic range is the difference between the loudest and quietest parts of audio. Compression makes this range more even by bringing up quiet sections and taming loud peaks. This creates more polished, consistent sound – especially important for music and podcasts. For example, compression helps vocals sit perfectly in a mix by keeping levels steady.
Reverb and Delay: Adding Depth and Space
Reverb creates natural room sound reflections, while delay produces distinct echoes. These effects add dimension and professional polish to audio. But be careful – too much reverb or delay can make things muddy. Finding the right balance is key. Learn more about audio quality research from the Institute for Telecommunication Sciences.
Mastering: The Final Polish
Mastering puts the finishing touches on audio production. This stage involves fine-tuning the overall sound to ensure it translates well across different playback systems. Professional mastering engineers adjust loudness, EQ, and dynamics for optimal results on any device. It's the crucial final step that makes audio truly shine.
Crafting Perfect Audio for Every Scenario
Creating great audio requires attention to each unique context. From podcast production to film soundtracks, understanding the specific needs of your project helps achieve professional sound quality.
Audio for Podcasts
Clear, natural-sounding dialogue is essential for podcasts. Focus on minimizing background noise and maintaining consistent volume levels through noise reduction software and compression during editing. Starting with good equipment like a quality microphone and quiet recording space creates the best foundation. Think of it as prepping a canvas before painting – clean initial audio makes enhancement much easier.
Audio for Live Streaming
Real-time audio streaming comes with distinct challenges. You need to balance sound quality against latency to keep everything in sync. While crystal-clear audio is ideal, avoiding delays is crucial for viewer experience. Selecting appropriate bitrates and codecs while ensuring stable internet connectivity makes a big difference. Getting these technical settings right impacts both audio fidelity and overall stream performance.
Audio for Music Production
Music demands precision at every stage. From choosing instruments and mic placement to mixing and mastering – each element shapes the final sound. Common techniques include multi-band compression for dynamic control, EQ for tonal shaping, and spatial effects for depth. Small adjustments often yield dramatic improvements. Research shows hearing aid users face unique challenges with music, as devices optimized for speech can reduce music quality. Read more about this at Audiology Today.
Audio for Film
Sound design plays a key role in movie storytelling and emotional impact. Creating believable soundscapes requires layering multiple audio tracks, specialized recording gear, and careful sync with visuals. Even basic elements like footstep sounds on different surfaces help build an immersive world.
Audio Enhancement Solutions By Use Case
Here's a practical overview of common audio challenges and solutions across different applications:
| Use Case | Challenges | Recommended Solutions |
|---|---|---|
| Podcast Production | Background noise, inconsistent volume | Noise reduction, compression, quality microphone |
| Live Streaming | Latency, bandwidth limitations | Efficient codecs, stable internet, optimized bitrate/sample rate |
| Music Production | Balancing instruments, achieving a polished sound | Multi-band compression, EQ, spatial audio processing |
| Film Sound Design | Creating immersive soundscapes, synchronizing audio with visuals | Layered audio tracks, specialized microphones, precise synchronization |
By understanding these specific requirements, you can choose the right approach and tools to create professional-quality audio that fits your project perfectly.
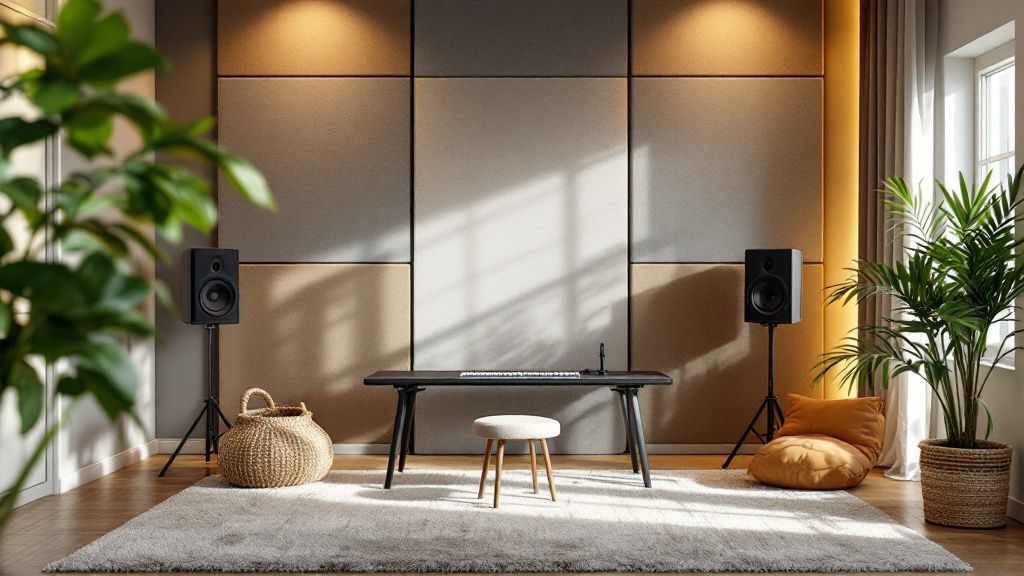
Creating Your Perfect Recording Space

Making a room sound great for recording doesn't have to cost a fortune. With some basic knowledge about acoustics and a few smart adjustments, you can significantly improve your audio quality. The recording environment plays a huge role in how your recordings turn out.
Identifying Acoustic Challenges
Start by finding the acoustic weak spots in your room. Room modes happen when sound bounces off walls, causing some frequencies to get louder while others get quieter. This often creates an uneven, boomy sound. Another common issue is reverberation – sound that lingers after the original source stops. Too much reverb makes recordings sound muddy and amateur. Hard surfaces like walls and floors are usually the main culprits. Understanding these issues is key to getting better sound.
Room Treatment Techniques
After spotting acoustic problems, it's time for solutions. Absorption is crucial for controlling reflections and room modes. This means using materials that soak up sound energy – acoustic panels, foam, or even thick blankets on walls and ceilings. For instance, putting absorbers behind your mic helps prevent sound from bouncing back and muddying up your recordings. This gives you cleaner, more focused sound.
DIY Solutions for Room Treatment
You can improve your recording space without spending big money. Many effective DIY options exist. Build your own acoustic panels using rockwool or mineral wool with fabric covering. Bookshelves full of books work well to break up sound reflections. Even simple things like adding rugs or carpets help absorb sound from hard floors. These basic changes can make a real difference in controlling sound reflections.
Strategic Equipment Placement
While room treatment is important, where you put your gear also matters a lot. Placing mics too close to walls causes issues with room modes and reflections, leading to colored sound. Try different mic positions to find where the sound is most natural. For monitors, aim for equal distance between speakers and your listening spot in a triangle setup. This gives you accurate stereo imaging and helps your mixes translate better to other systems. Small position changes can noticeably improve your recording quality, no matter your budget.
Pro Tips That Actually Make a Difference
These hands-on tips come straight from years of professional audio production work. No complex theories here – just practical steps you can use right away to improve your sound quality.
Gain Staging: The Foundation of Good Sound
Gain staging works like building a house from the ground up. You need to set proper audio levels at each step of recording and mixing to prevent distortion and keep your dynamic range intact. Start with the right signal level at your mic preamp and maintain good levels throughout. Getting this wrong can lead to problems – too hot means noise, too low means having to boost later and picking up unwanted sounds.
The Power of Listening: Use Reference Tracks
Just as artists study masterpieces, audio producers need reference tracks – professionally mixed songs that sound similar to your target. Compare your mix against these references to spot where you need work, whether it's EQ balance or overall loudness. Having a concrete example helps train your ear to catch subtle but important differences in sound quality.
Headphone vs. Monitor Mixing: A Balanced Approach
You need both headphones and studio monitors for a complete mix. Headphones give you the close-up details and help catch small flaws, but their stereo image isn't quite natural. Monitors show you how your mix will sound on speakers, especially for judging overall balance and bass. Using both gives you the full picture and helps create a mix that sounds good everywhere.
Troubleshooting Common Audio Problems
Audio issues can pop up even with great gear. A persistent hum might mean grounding problems or electrical interference. Clicks and pops could point to software glitches or audio interface issues. Check your connections, settings and equipment one by one to find the source – it's like detective work to track down the cause.
Optimizing Your Workflow for Efficiency
Good organization helps both speed and sound quality. Use clear file names to keep projects sorted. Set up templates for common tasks to save time and maintain consistency. This cuts down on mistakes and makes it easy to revisit old projects. When the technical stuff runs smoothly, you can focus more on the creative side.
Embracing Continuous Learning
Audio technology keeps growing and changing. Keep up with new techniques and tools through online communities, tutorials, and forums where pros share their knowledge. Small improvements add up to better sound quality over time. For help with mixing, mastering or sonic branding, check out Tune Tailors – their experienced team can create custom solutions for your project.